

How to Run a Sealed Bid Auction: Step-by-Step Guide
 Nitesh Singh
September 9, 2026
Nitesh Singh
September 9, 2026




- What is a sealed bid auction?
- Step 1: Decide if a sealed bid format actually fits your sale
- Step 2: Set your rules before you open bidding
- Step 3: Choose how bids will be collected
- Step 4: Verify bidder eligibility before bids open
- Step 5: Open the bids at the announced time, not before
- Step 6: Notify the winner and everyone else, quickly
- Next step
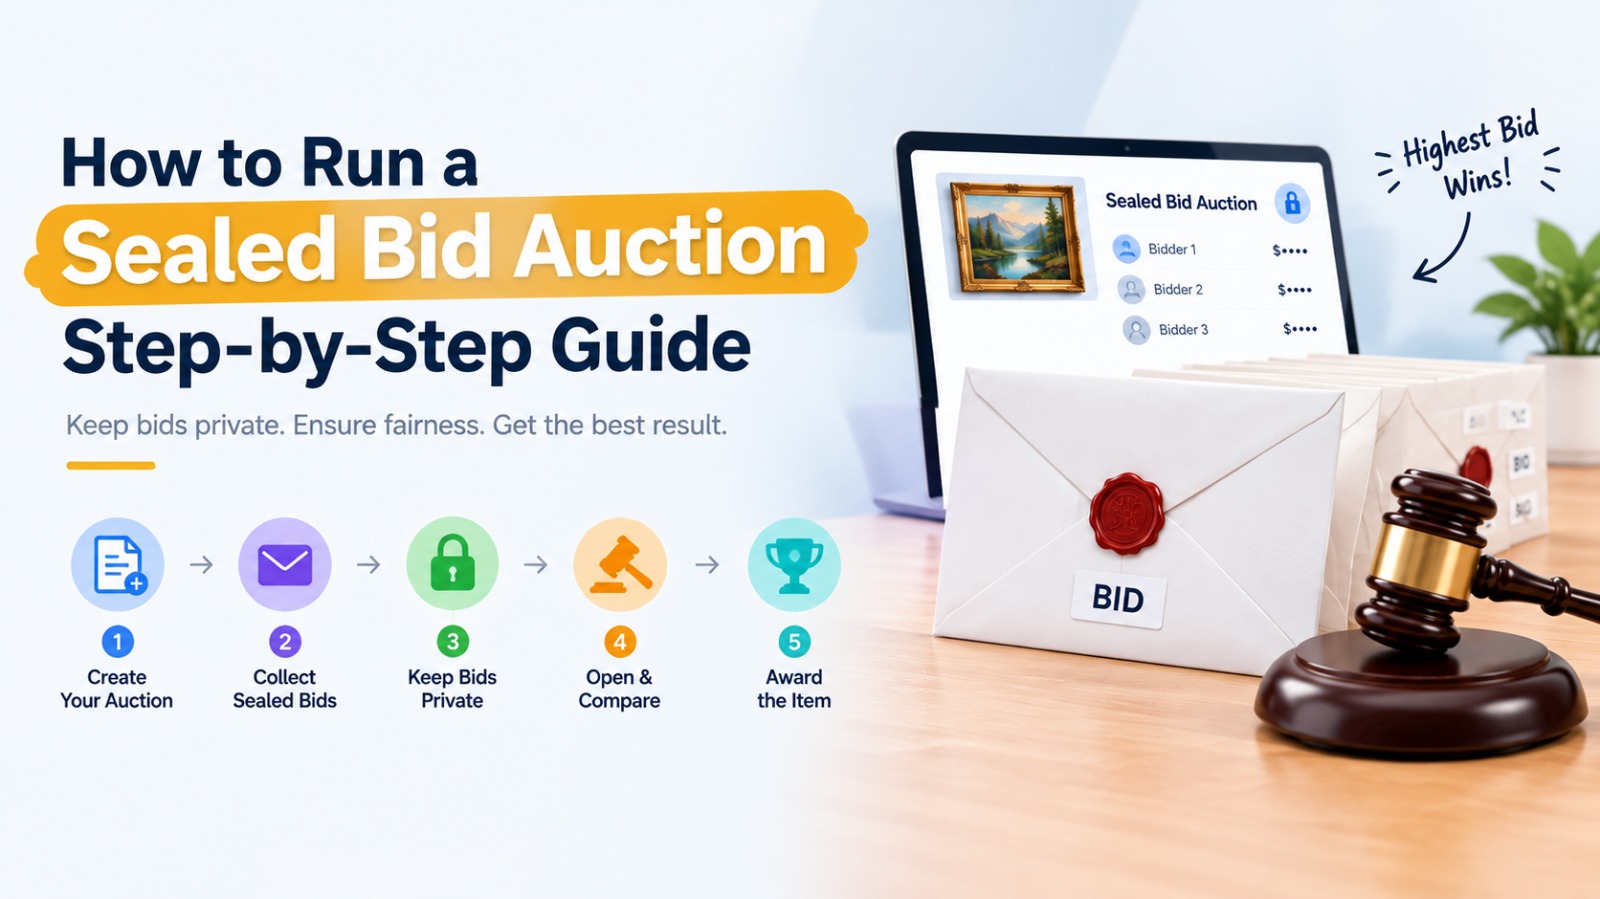
Running a sealed bid auction well comes down to five things: setting a clear submission deadline, writing bid instructions nobody can misread, collecting bids without letting anyone see a competitor’s number, opening them at a set time, and communicating the result fast. Get those five right and the format runs itself. Get any one wrong and you’ll spend the next week fielding disputes.
Here’s the direct answer, then the full walkthrough with the parts most guides skip.
What is a sealed bid auction?
A sealed bid auction is a sale format where every bidder submits one confidential offer, with no visibility into what anyone else is bidding. All bids are opened at the same time, after the deadline closes, and the highest bidder typically wins (though sellers can set other rules, like a second-price format). Unlike a live or online ascending auction, there’s no back-and-forth. Each bidder gets exactly one shot, based only on what they think the item or property is worth.
This format shows up most often in real estate sales, government and corporate procurement, business asset liquidation, and land sales where privacy between bidders matters more than a fast public bidding war.
Step 1: Decide if a sealed bid format actually fits your sale
Before you build anything, check whether sealed bidding is the right tool. It works best when:

- You want to avoid bidders anchoring off each other’s numbers
- Privacy matters (competing businesses bidding on the same asset, for example)
- You’re selling something with genuinely uncertain value, where price discovery through blind bids gets you closer to real market value than a public auction would
- You have a defined pool of qualified bidders, not an open crowd
It works less well for high-volume consumer items where an open, competitive live auction usually drives the price up faster through visible bidding pressure. If you’re running consumer auctions at volume, an ascending or Dutch format inside a plugin like Ultimate Auction Pro will usually get you a better result than sealed bidding.
Step 2: Set your rules before you open bidding
This is the step people rush, and it’s the one that causes almost every post-auction dispute. Decide, in writing, before a single bid comes in:
- Bid deadline, down to the exact time zone and minute
- Minimum bid, if any, and whether it’s disclosed publicly
- First-price or second-price rules. First-price means the highest bidder pays what they bid. Second-price (a Vickrey auction) means the highest bidder wins but pays the second-highest bid amount, which tends to encourage more honest bidding since nobody has to guess how much to pad their number.
- Tie-breaking method. Earliest submission time is the most common and easiest to defend.
- Bid withdrawal policy. Can a bidder pull out after submitting? Most sealed bid processes say no, and you should say so explicitly.
- What happens if no bids clear your reserve. Do you re-list, negotiate with the top bidder, or cancel the sale?
Write all of this into a bid instruction sheet bidders see before they submit.
Step 3: Choose how bids will be collected
You have three real options, and the format changes the trust equation:
Sealed envelopes. Physical, traditional, still used in government tenders and some estate sales. Works fine for a small bidder pool but is slow to administer and impossible to prove wasn’t tampered with unless you have a strict chain-of-custody process.
Email submissions. Faster, but bids can leak if someone forwards or misconfigures an inbox, and timestamps can be disputed.
A dedicated auction platform. This is where most sellers land once they’ve run one or two sealed bid sales the manual way and felt the pain. A platform that supports sealed bid auctions natively handles the two hardest parts automatically: it hides submitted bid amounts from every party, including you, until the close time, and it timestamps every bid server-side so there’s no dispute about who bid what and when.
If you already have a WordPress or WooCommerce site, the Ultimate Auction Pro auction plugin adds this as a bid type on top of your existing site. If you’re starting from scratch, the online auction software option gives you a full pre-built auction site instead. Either way, setup takes three steps: create the auction listing, set it to sealed bid mode instead of ascending, and set your close date and time. Bidders then see a bid submission form with no visible bid history, no leaderboard, and no running total, which is the whole point.
Step 4: Verify bidder eligibility before bids open
Sealed bid auctions attract fewer casual bidders than open auctions, since there’s no live thrill of outbidding someone in real time. That’s usually a feature, not a bug, but it means the bidders you do get tend to be more serious, so eligibility checks matter more.
Depending on what you’re selling, this can mean:
- Requiring a refundable deposit to submit a bid
- Verifying identity or business registration
- Requiring proof of funds for high-value property or asset sales
- Limiting bidding to a pre-approved list (common in procurement and B2B liquidation)
Build eligibility checks into the registration step, not after bids come in. Disqualifying a winning bid after the fact because the bidder wasn’t eligible is the fastest way to end up in a dispute or, in regulated sales, a legal problem.
Step 5: Open the bids at the announced time, not before
This sounds obvious, but it’s worth stating plainly: open bids exactly when you said you would, in front of the process you promised (a public opening, a recorded video opening, or an automated platform reveal), and not a minute earlier for anyone, including yourself.
If you’re using a platform with a built-in sealed bid feature, the close time should trigger the reveal automatically, so no human has the chance to peek early, intentionally or not. That’s a real advantage over the envelope-and-inbox method, where the seller technically has the ability to look before the deadline even if they don’t intend to.
Step 6: Notify the winner and everyone else, quickly
Once bids are open, three things need to happen within a defined window (24 to 48 hours is standard):
- Notify the winning bidder and confirm next steps for payment or contract
- Notify losing bidders that the auction has closed, even if you don’t disclose the winning amount
- Refund any deposits from bidders who didn’t win
Silence after a sealed bid auction closes is the single biggest driver of bad reviews and disputes, especially in real estate and asset sales where bidders have tied up funds or time waiting on a proof-of-funds letter. A platform that auto-sends closing notifications removes this step from your to-do list entirely.
Next step
If you’re setting this up on WordPress, the fastest path is to create your first sealed bid listing with a short bid window (48 to 72 hours) and a small, known group of bidders before opening it up wider. That gives you a chance to catch any gaps in your bid instruction sheet while the stakes are still low.
You can test the sealed bid format yourself before buying anything. The auction plugin demo lets you try it on a WordPress site, and the online auction software demo lets you try it as a full standalone site. If you get stuck on setup, the user guides and support team can walk you through your first listing.


Nitesh Singh is a software veteran and the Founder of Ultimate Auction. With 16+ years of experience in web development, he specializes in building high-performance auction tools for the WordPress community. Connect with Nitesh on LinkedIn or follow his latest auction strategy guides here.
More articles by Nitesh SinghRelated Post

Online Auction Software: What to Look for Before You Buy
Switching auction platforms after a bad launch costs far more than choosing well the first time. This guide is for auction houses, nonprofits, and resellers choosing online auction software. You’ll leave with a feature checklist, a way to compare fees, and a list of questions to ask on every demo call. Online auction software is […]
Read More
How Much Do Estate Auctioneers Charge
Estate auctioneers typically charge 15-35% commission on what your items sell for. But the actual cost depends on what’s included, where you are, and what you’re selling. Understanding these fees upfront helps you compare auctioneers fairly and know what you’ll actually take home. How Much Will You Actually Pay? Estate auctioneers charge in several ways. […]
Read More
What Is a Buyer’s Premium? (Auctions, Real Estate, and Why It Exists)
A buyer’s premium is an extra fee, usually a percentage of your winning bid, that the auction house charges you on top of the hammer price. It catches people out constantly, because the number the auctioneer shouts is not the number you actually pay. Win a car at $10,000 and your bill might be $11,500 […]
Read More